Electric Bike (cont)
I don't think these actually render
The Bike is "Almost" Done!
We have been working pretty hard on finishing this project. I figured now is a good time to post an update on the project.
What is done:
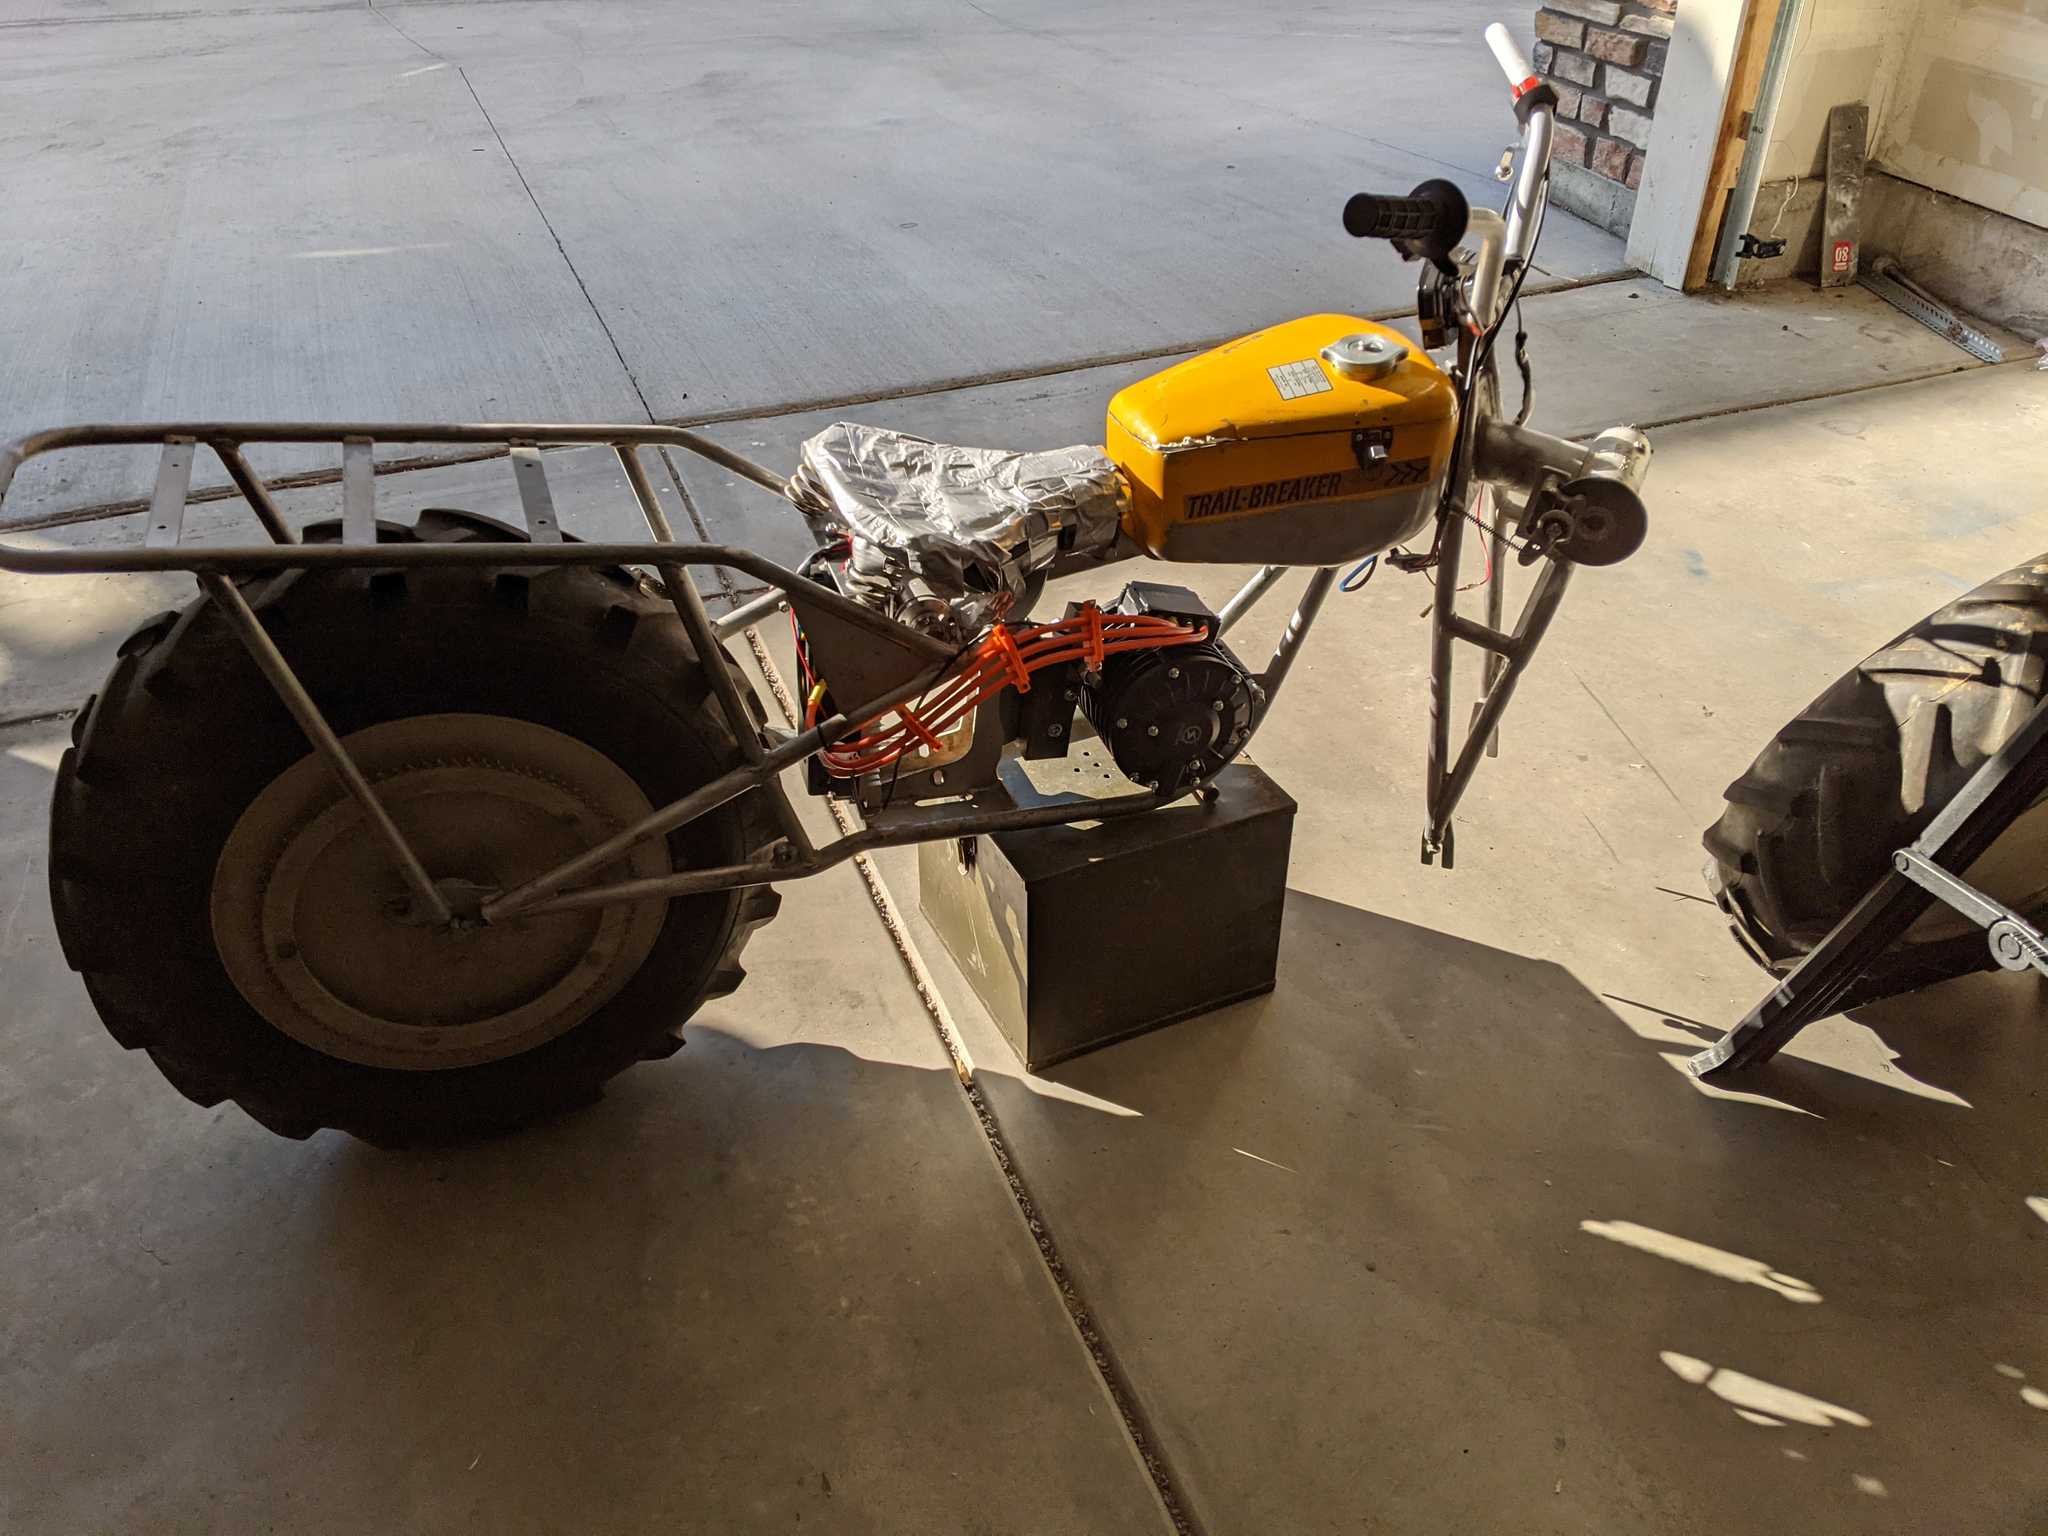
Motor is mounted, The bike is reassembled, and most of the parts are either ordered or on the way.
In Progress:
Battery pack, battery housing AKA the fuel tank, chains and sprockets, and wiring
To Do:
12V system, seat reupholstering, system testing, painting and final finish
Ok, typing that list stressed me out a little, I mean damn, we still don't even know if the battery will work, or if the motor is going to tear the drive system apart, or how to set up the 12V system to handle turn signals and if we should have the HV system on a relay.
The Battery
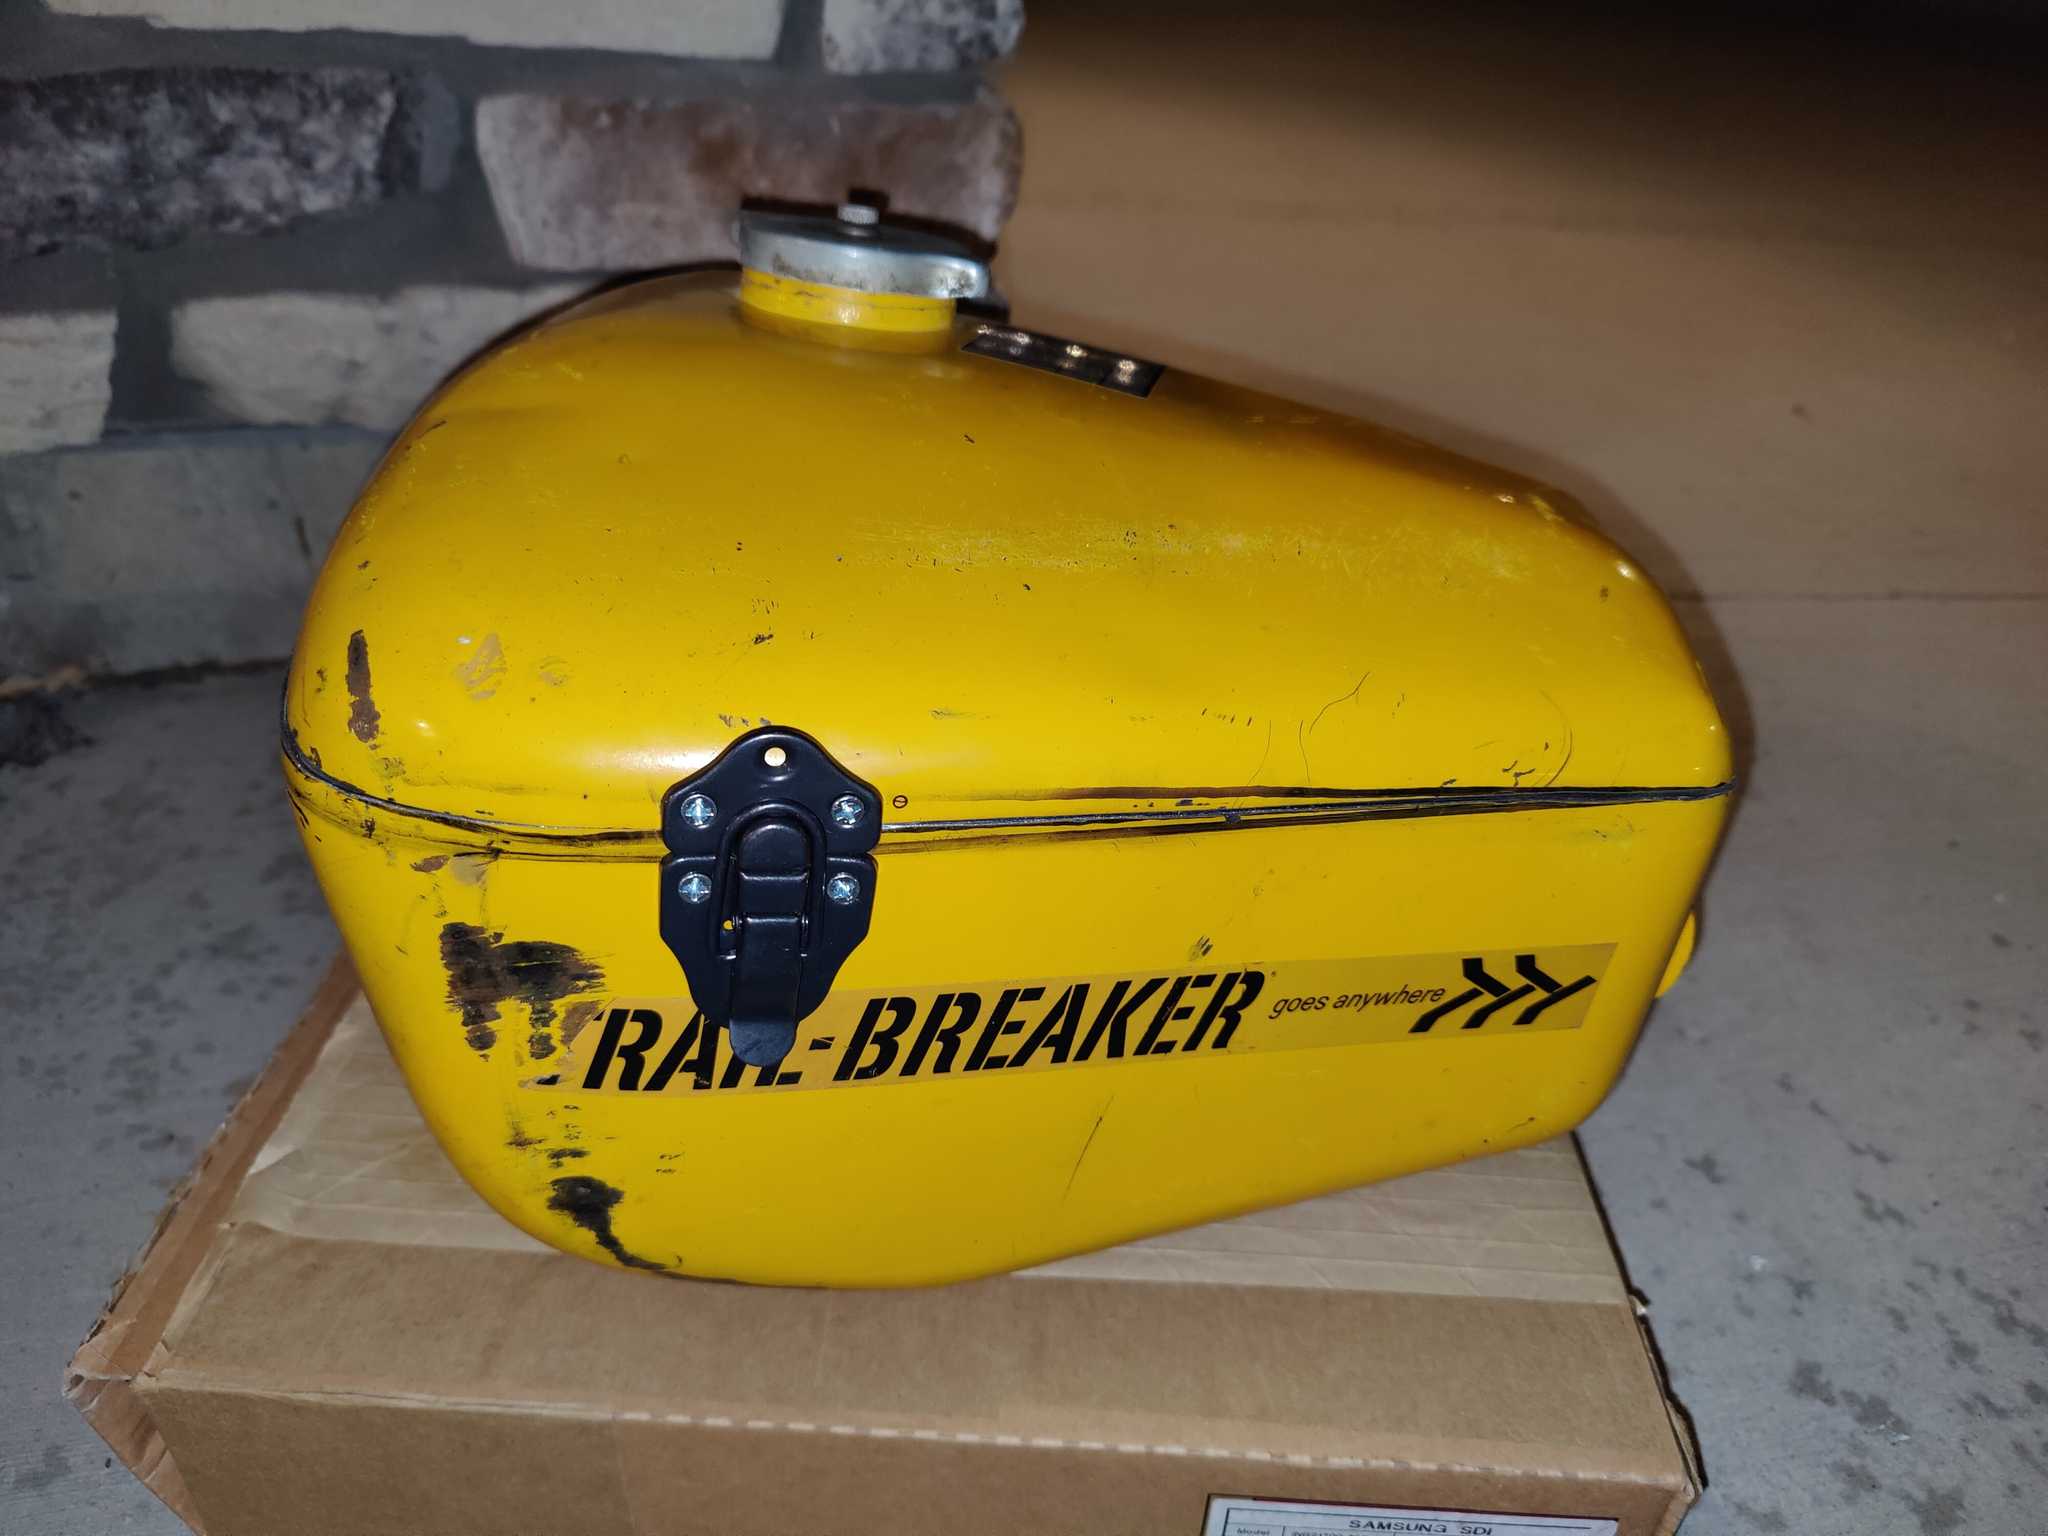
Ok, well scope creep and deadline dread aside, let's focus on what we did do. The battery is coming along great. the whole pack will fit in the old gas tank, and besides being oddly symbolic, it saves us on so much space. If it didn't fit there, we would have to find some way to get a battery mounted on the bike elsewhere, and there just isn't room. For such a big bike, there is very little room.
Our spot welder was on the cheaper side, and we kept tripping breakers using it on my garage's 15 Amp breaker. These welds were also constantly coming apart. We were confused why it was so bad, and almost made either a very large purchase for a better spot welder or a dangerous high voltage modification. Turns out all we had to do was just use a bigger breaker... So that was a fun lesson.
The Motor
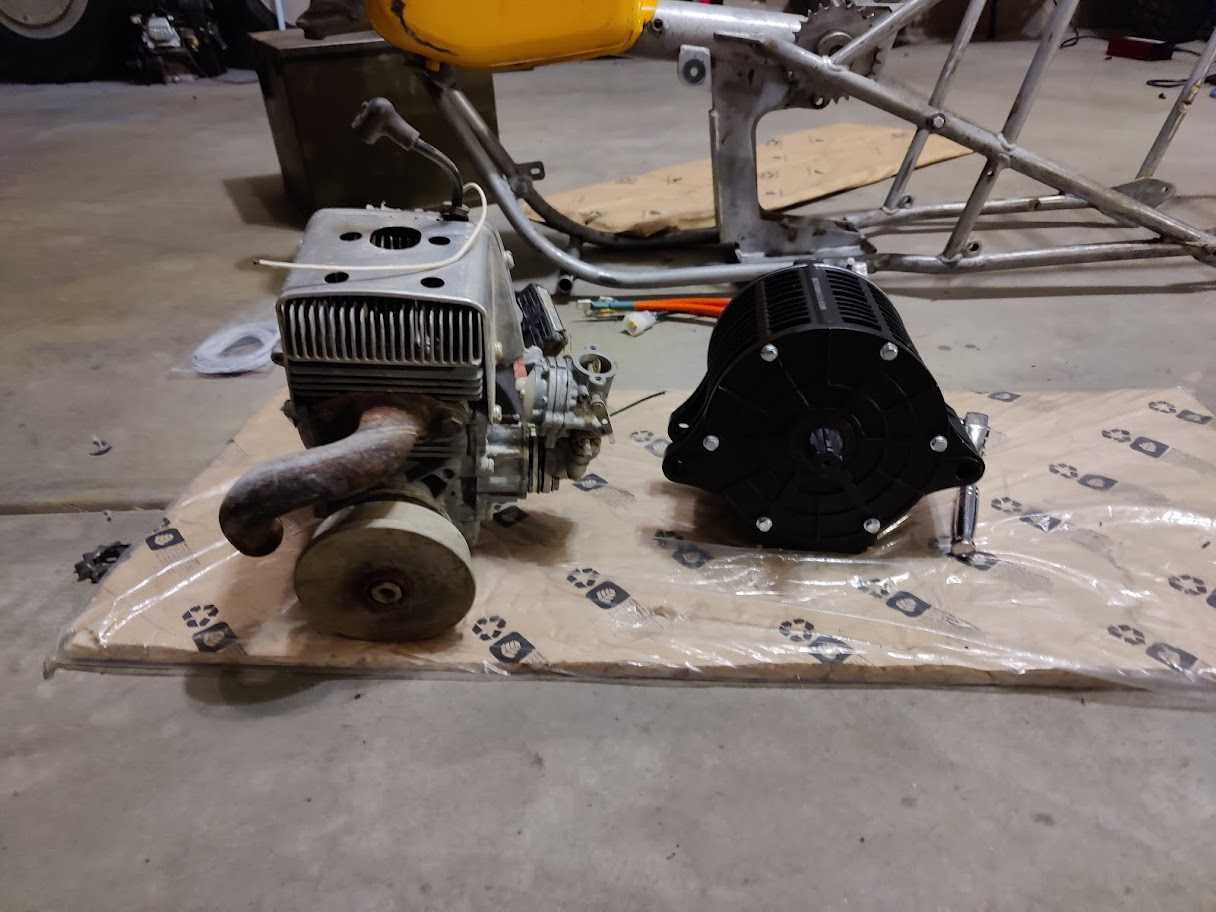
This is my favorite part. It's just so aesthetically pleasing to look at. It looks mean with those 3 high voltage phase wires coming out of it, the sleek, matte finish. Damn it just looks good, especially compared to the engine it's replacing, which hasn't been in a working state since 1985.
The motor itself is a beefy QS138 70H 3Kw motor, capable of 9,000 RPM. It's roughly 5 times more powerful than the original engine.
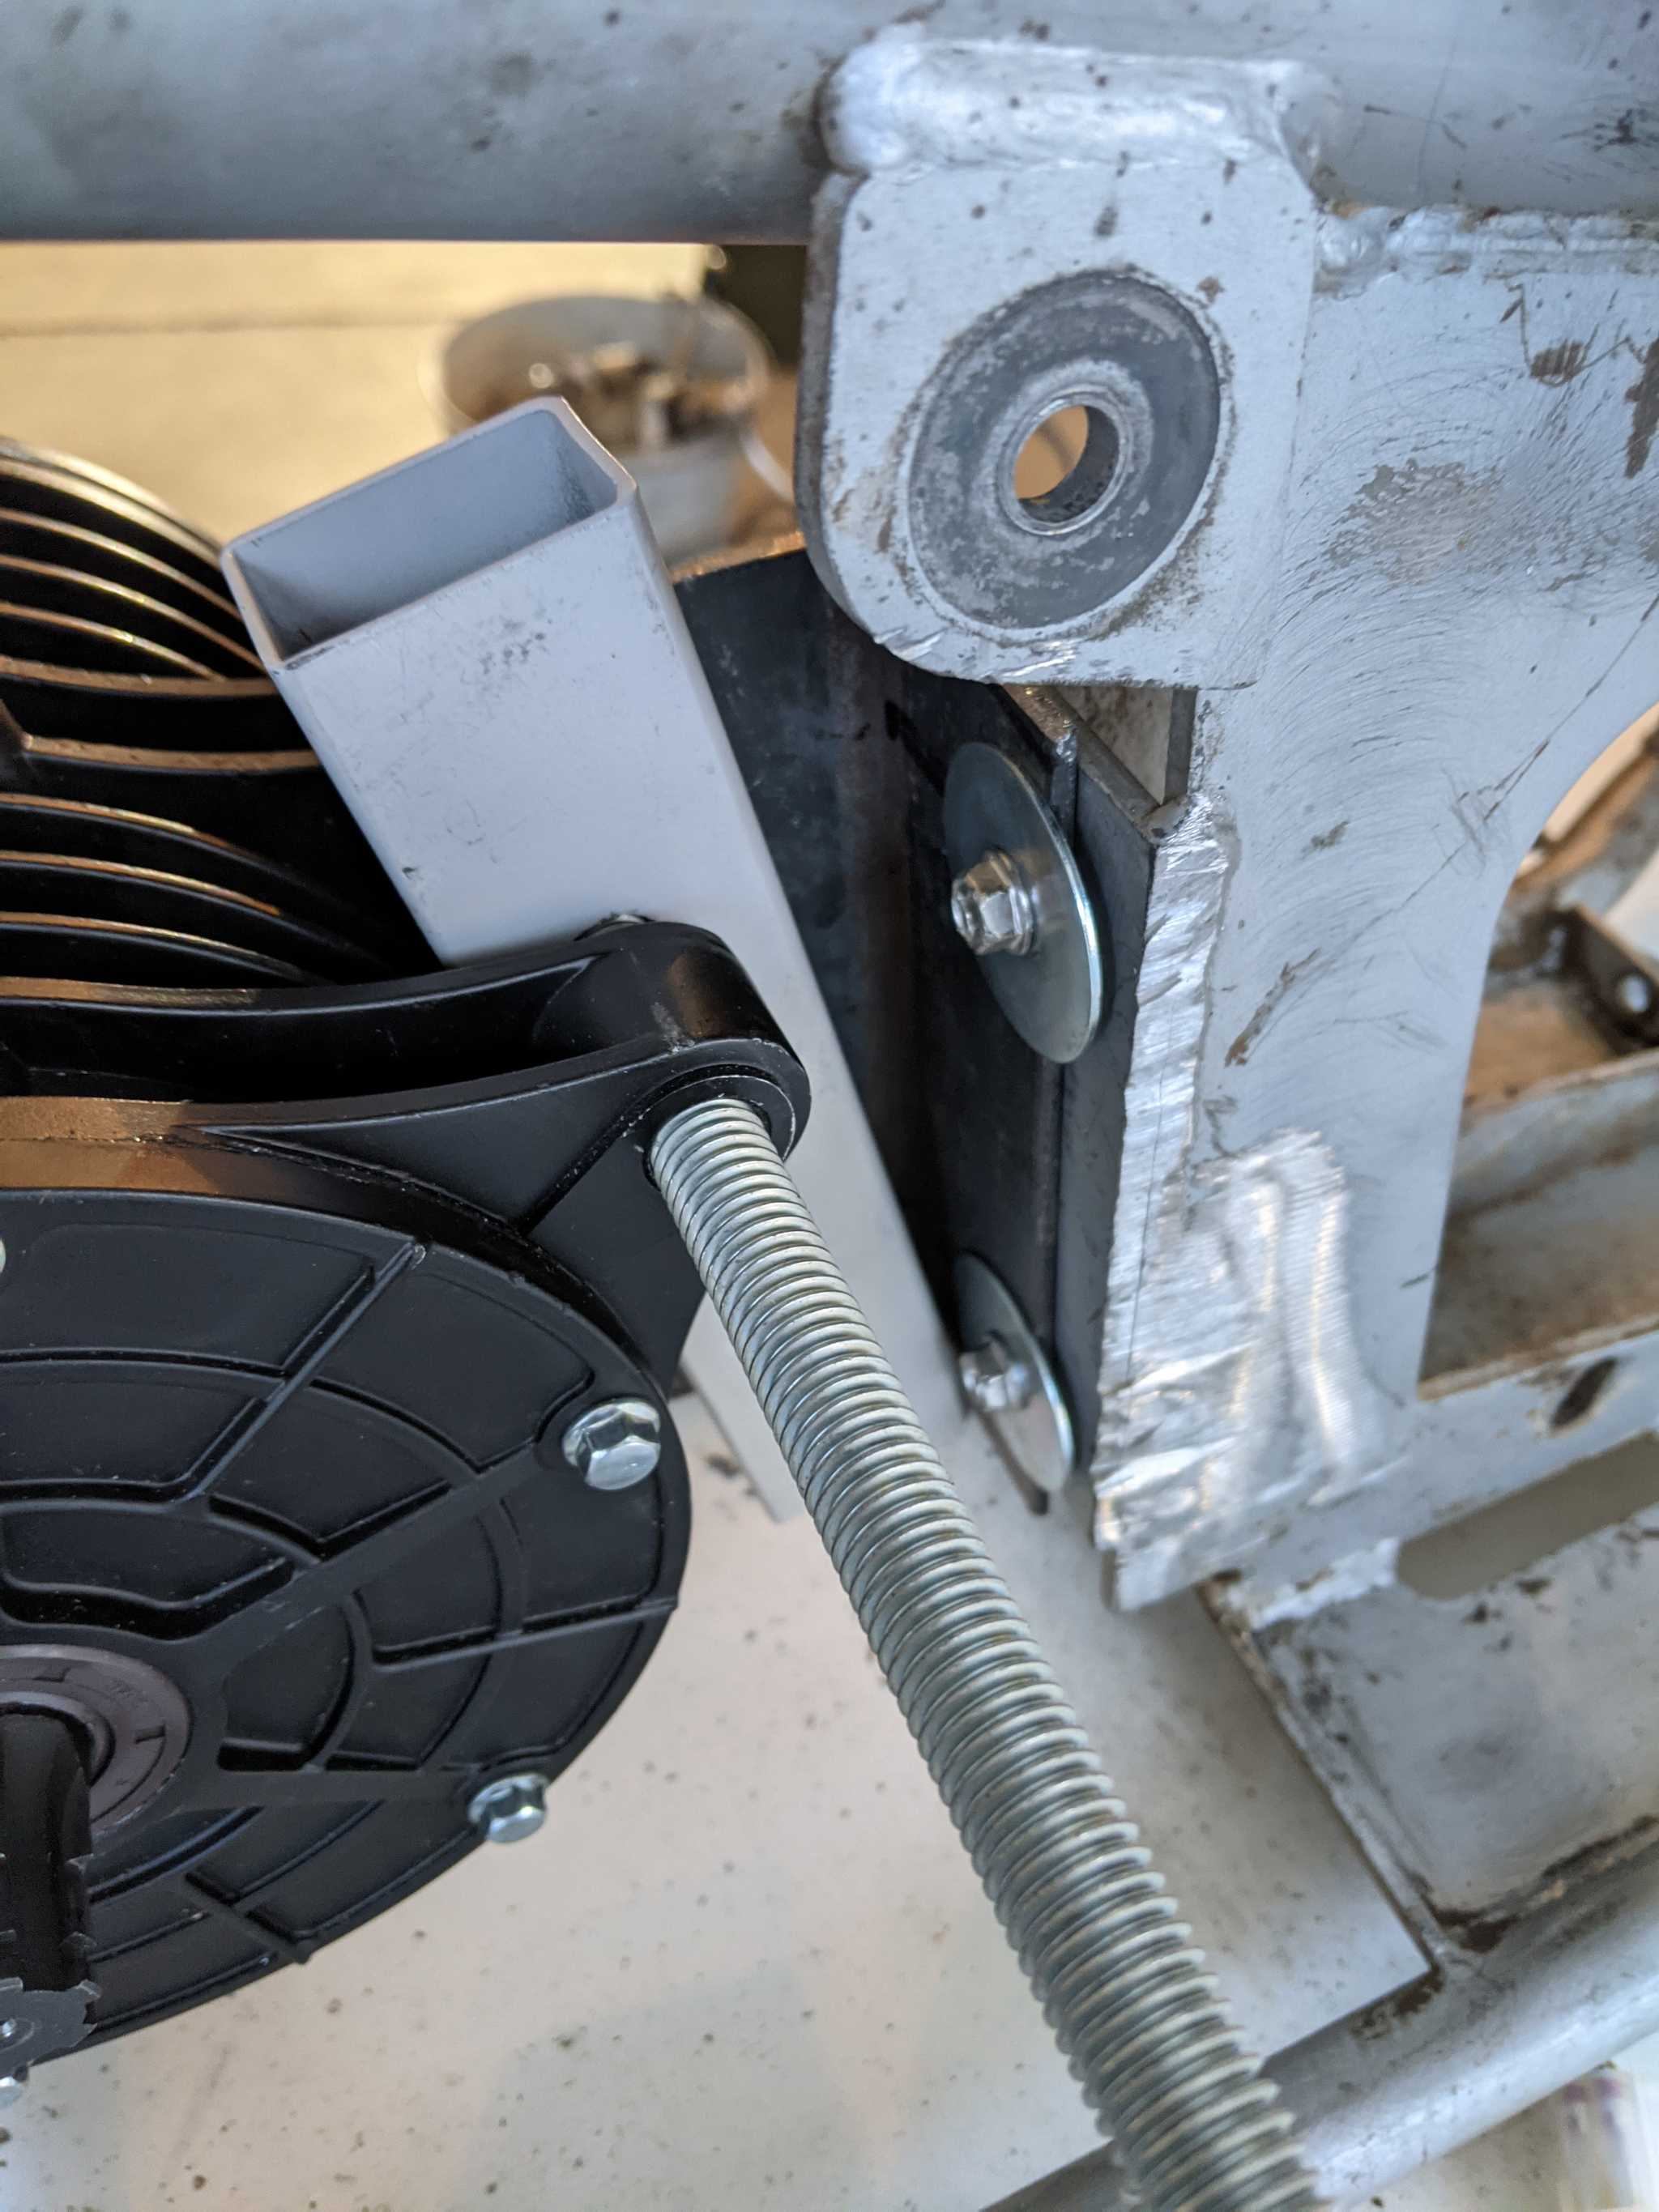
Ok so now for the bad parts. The motor was designed to be dropped into a dirt bike frame and, in that use case, is pretty much plug n play. I don't think the manufacture planned on one of their motors ending up in a 2 wheel driven solid steel frame bike built in the 70s. We have no fabrication experience, so it was about time we learned how to make things with metal. using some L brackets and the frame of a recently demolished treadmill, we jerry-rigged one of the oddest looking motor mounts I think I've ever seen.
This issue makes me think of two things: One, this might break apart the minute we apply torque. and two, this wouldn't be possible if I had not just decided to DO something. I sat and scratched my chin and tried to design it in my head, and in some cases, it might just be best to just build it. considering that half of the mount is recycled, it really didn't matter if the first try wasn't right. Sometimes it helps just to put pen to paper so to speak.
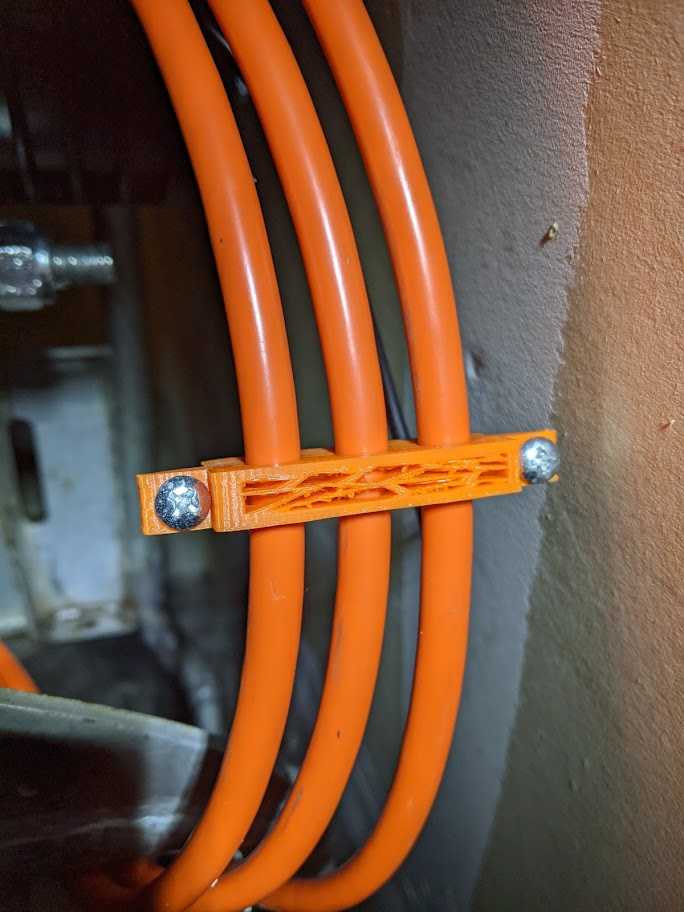
While I didn't make the mount look good, I sure as hell made the wire spacers look good.
3D printed wire spacers
It can be important to keep the phase wires spaced apart to avoid electromagnetic interference, so I cracked my knuckles, opened up TinkerCAD, and 3D printed a bunch of spacers that look good and worked well too. I really enjoyed this mini-project because the design worked on the first try, and it only took 2 hours from start to first test fit.
Other notes
I really could go on with other challenges we faced, and in fact, I'll probably write up a whole thing on sprockets, and the differences between them, but I am getting tired and my fingers hurt. So to close, it's important to point out safety. Building your own battery is dangerous; The tools are dangerous, the cells are dangerous, and testing is dangerous. It's imperative to set procedures on how to interact with the live battery and build the safety measures required to use it.
We are really close to the point where the battery is finished and the whole bike can be tested.
